Create a New Syllabus
- 18 Aug 2023
- 1 Minute to read
- Print
- DarkLight
- PDF
Create a New Syllabus
- Updated on 18 Aug 2023
- 1 Minute to read
- Print
- DarkLight
- PDF
Article summary
Did you find this summary helpful?
Thank you for your feedback!
Creating a new syllabus in WIDS is easy!
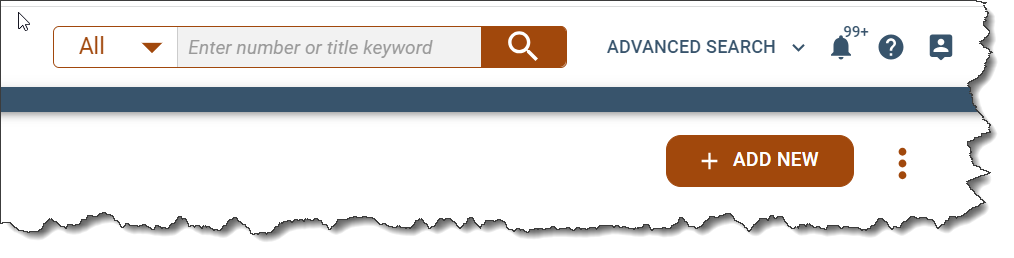
Start at the home page by clicking the Add New button. WIDS presents a popup menu. Select Syllabus from the menu.
WIDS opens a dialogue box. Enter the desired course number or a key word and search. WIDS presents courses that match your search. Select the desired course.
- Enter a name for your syllabus. This is just to help you find the syllabus again later—so you might use the section or delivery mode in the title.
- Select the syllabus term and year from the droplists.
- Enter the start date and end date for your syllabus.
Tip: The start and end dates are important! These dates determine the version of the course that will be used for course information.
WIDS opens your syllabus. All of the data provided by your organization will already be included in the along with everything you provided in My Profile.
Add additional information by clicking the Pencil icon to edit a section. You can save each section as you complete your work. No need to save your syllabus as a whole—WIDS does that for you.
Tip: You can drag and drop grid rows by clicking and holding the drag icon.
Select the Submit button to submit your syllabus for college review or archiving. Once you have submitted your syllabus, it’s no longer editable. But you can easily obtain the URL or download the syllabus document.
Tip: Submitted syllabi are also archived in the course module. Open the Documents tab, My Course Documents page in the My Submitted Syllabi folder.